
I’ve probably mentioned how much I love autumn. This year has been a bit strange though, with such warm temperatures. I do prefer cooler temps in October, but there’s nothing to be done about that. Warmers temps don’t prevent me from celebrating the season.
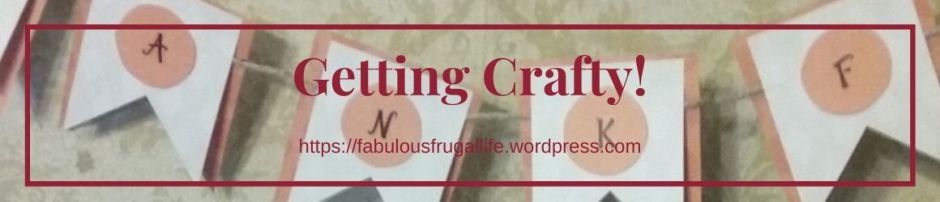
This year I made a ‘T H A N K F U L’ banner I’d like to show you. The beauty of this banner is that you can resize it to fit the space you have available, so don’t feel forced to use my measurements. This banner can also be spaced differently, bringing the pieces closer or setting them further apart.


Materials
(general materials and amounts; you may need more or less)
paper (to make the pattern)
2 sheets 8×10 orange cardstock (small polka dots)
2 sheets natural colored/patterned cardstock
1 sheet 8×10 orange cardstock (medium polka dots)
pencil
adhesive
twine (measure to account for banner size and spacing)
scissors
paper-cutter
letter stickers
2 tacks for hanging
- Make a pattern for the orange banner pieces using plain or lined paper. I made mine 3 1/4″ x 4″. Cut the pattern out using a paper-cutter. Use scissors to cut the bottom to look like the banner pieces in the first two pictures above and the feature photo.
- Trace the pattern onto the back of the orange paper 8 times. Cut these pieces out.
- Make a pattern for the natural banner pieces using plain or lined paper. I made mine 2 3/4″ x 3 1/2″. Cut the pattern out using a paper-cutter. Use scissors to cut the bottom to look like the banner pieces in the first two pictures above and the feature photo.
- Trace the pattern onto the back of the natural paper 8 times. Cut these pieces out.
- Use scissors to cut 8 circles out of the orange cardstock with the medium circles.
- Using sticker letters that will spell out T H A N K F U L, center one sticker onto each circle.
- Adhere the top only of the natural banner pieces toward the top of the orange pieces, centering them. The middles and bottoms of the natural pieces should not be adhered.
- Adhere a circle onto each natural piece, being sure to center these as well.
- Lay the finished pieces out as you would like them, equal distances between each.
- Lay a long piece of twin over these, so there is extra twine at each end, and cut to the length you will need.
- Tie the ends of the twine to make loops for hanging.
- Tuck the twine string between the orange and natural banner pieces.
- Hang the banner.


I know it sounds like there is a lot to this project, but there isn’t. It took little time to complete, and I love the look.
Switch Things Up
- Make the banner using triangle, square, diamond, or circle patterns instead, for a different look.
- Try using different autumn-related colors.
- Yarn could be used instead of twine.
- Use different words or phrases, such as Thanksgiving, Thanksgiving Wishes, Autumn Fun, or I Am Thankful.
I hope you like the project! Please share your banners.
Happy autumn,
Shannon
